How to use TipKit
January 24, 2025 By Thomas Prezioso Jr 5 min readLet’s take a look at how we can implement TipKit in a SwiftUI application. TipKit is used to show contextual tips that highlight new, interesting, or unused features people haven’t discovered on their own yet.
Lets start by importing TipKit
import TipKit
Next we will need to make the Tip that we are going to want to show.
struct ExampleTip: Tip {
    // All tips require that we have a title
    var title: Text {
        Text("Here is a New Feature!")
    }

    // This is an optional message that we can add to the tip we want to show
    var message: Text? {
        Text("Your favorite dance moves are just a tap away!")
    }

    // We can also add and optional image
    var image: Image? {
        Image(systemName: "figure.dance")
    }
}
This is how we can setup a very basic tip to show within our app. Now lets take a look at how we can show this tip from a view.
struct ContentView: View {

  var body: some View {
    Text("Hover over me")
      .popoverTip(ExampleTip())
  }
}
If we go and run this code nothing will happen. We also need to configure our tips when we launch our app. Let’s head over the entry point in our app and configure our tip.
import SwiftUI
import TipKit

@main
struct TestProjectApp: App {
  init() {
    try? Tips.configure()
  }

  var body: some Scene {
    WindowGroup {
      ContentView()
    }
  }
}
When we run our simulator or our previews we should get something like this.
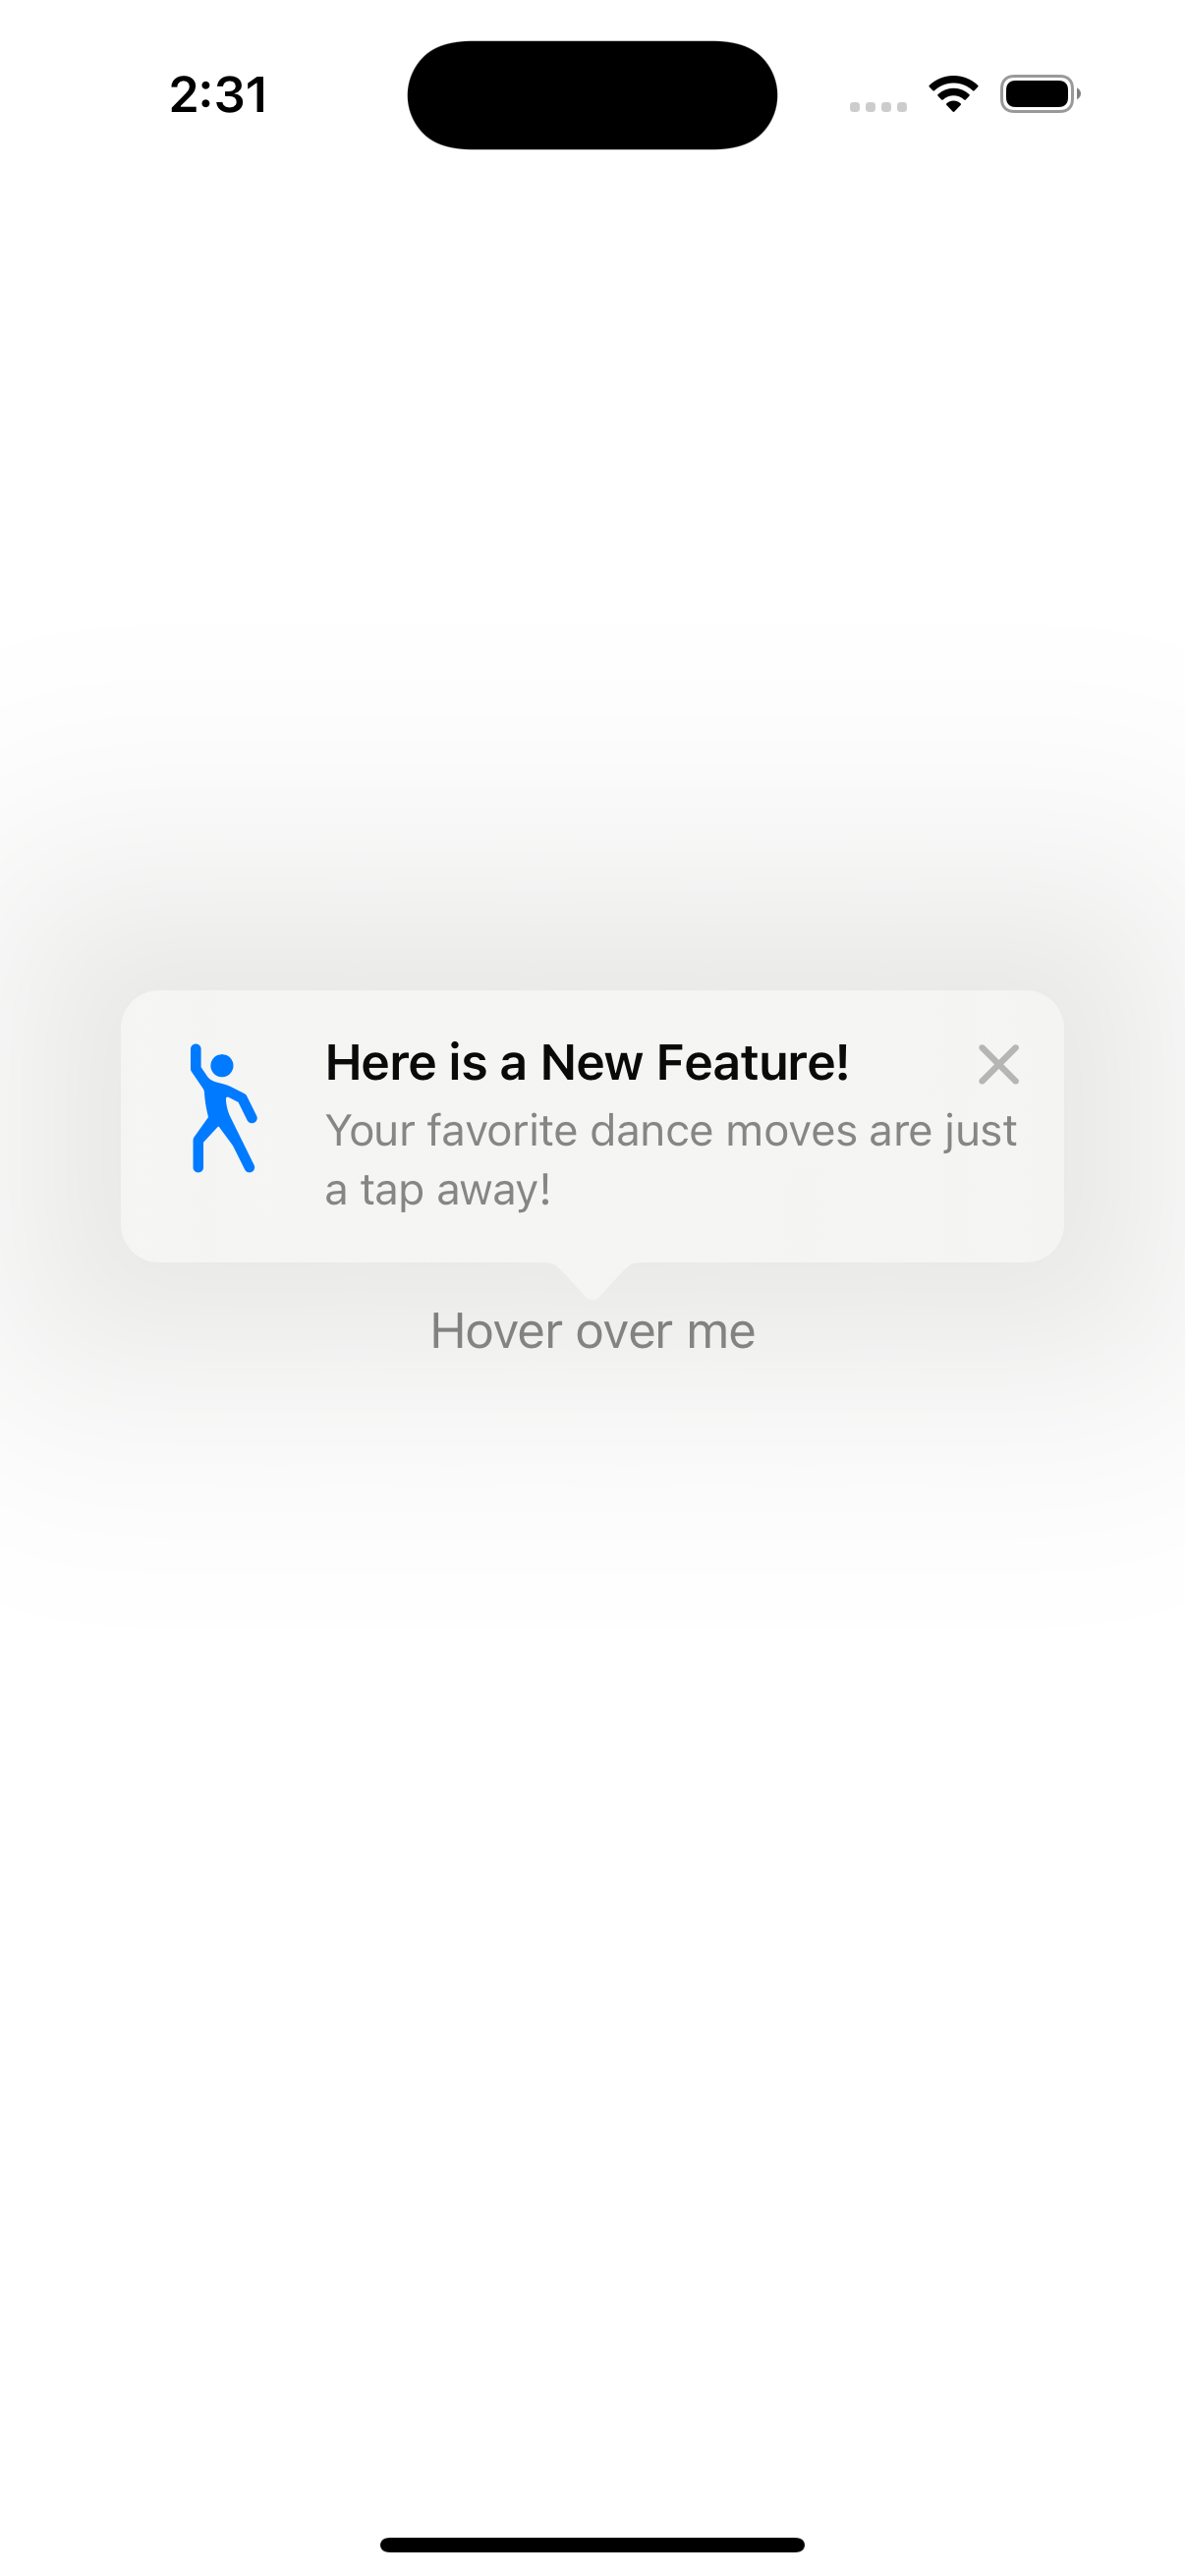
We can also show a Tip without the popover modifier and show the Tip inline like this:
VStack {
  TipView(ExampleTip(), arrowEdge: .bottom)
  Text("Hover over me")
}.padding()
That is all we need to get a Tip up and running in our app. Let’s now take a look at how we can customize when to show and hide/dismiss our tip.
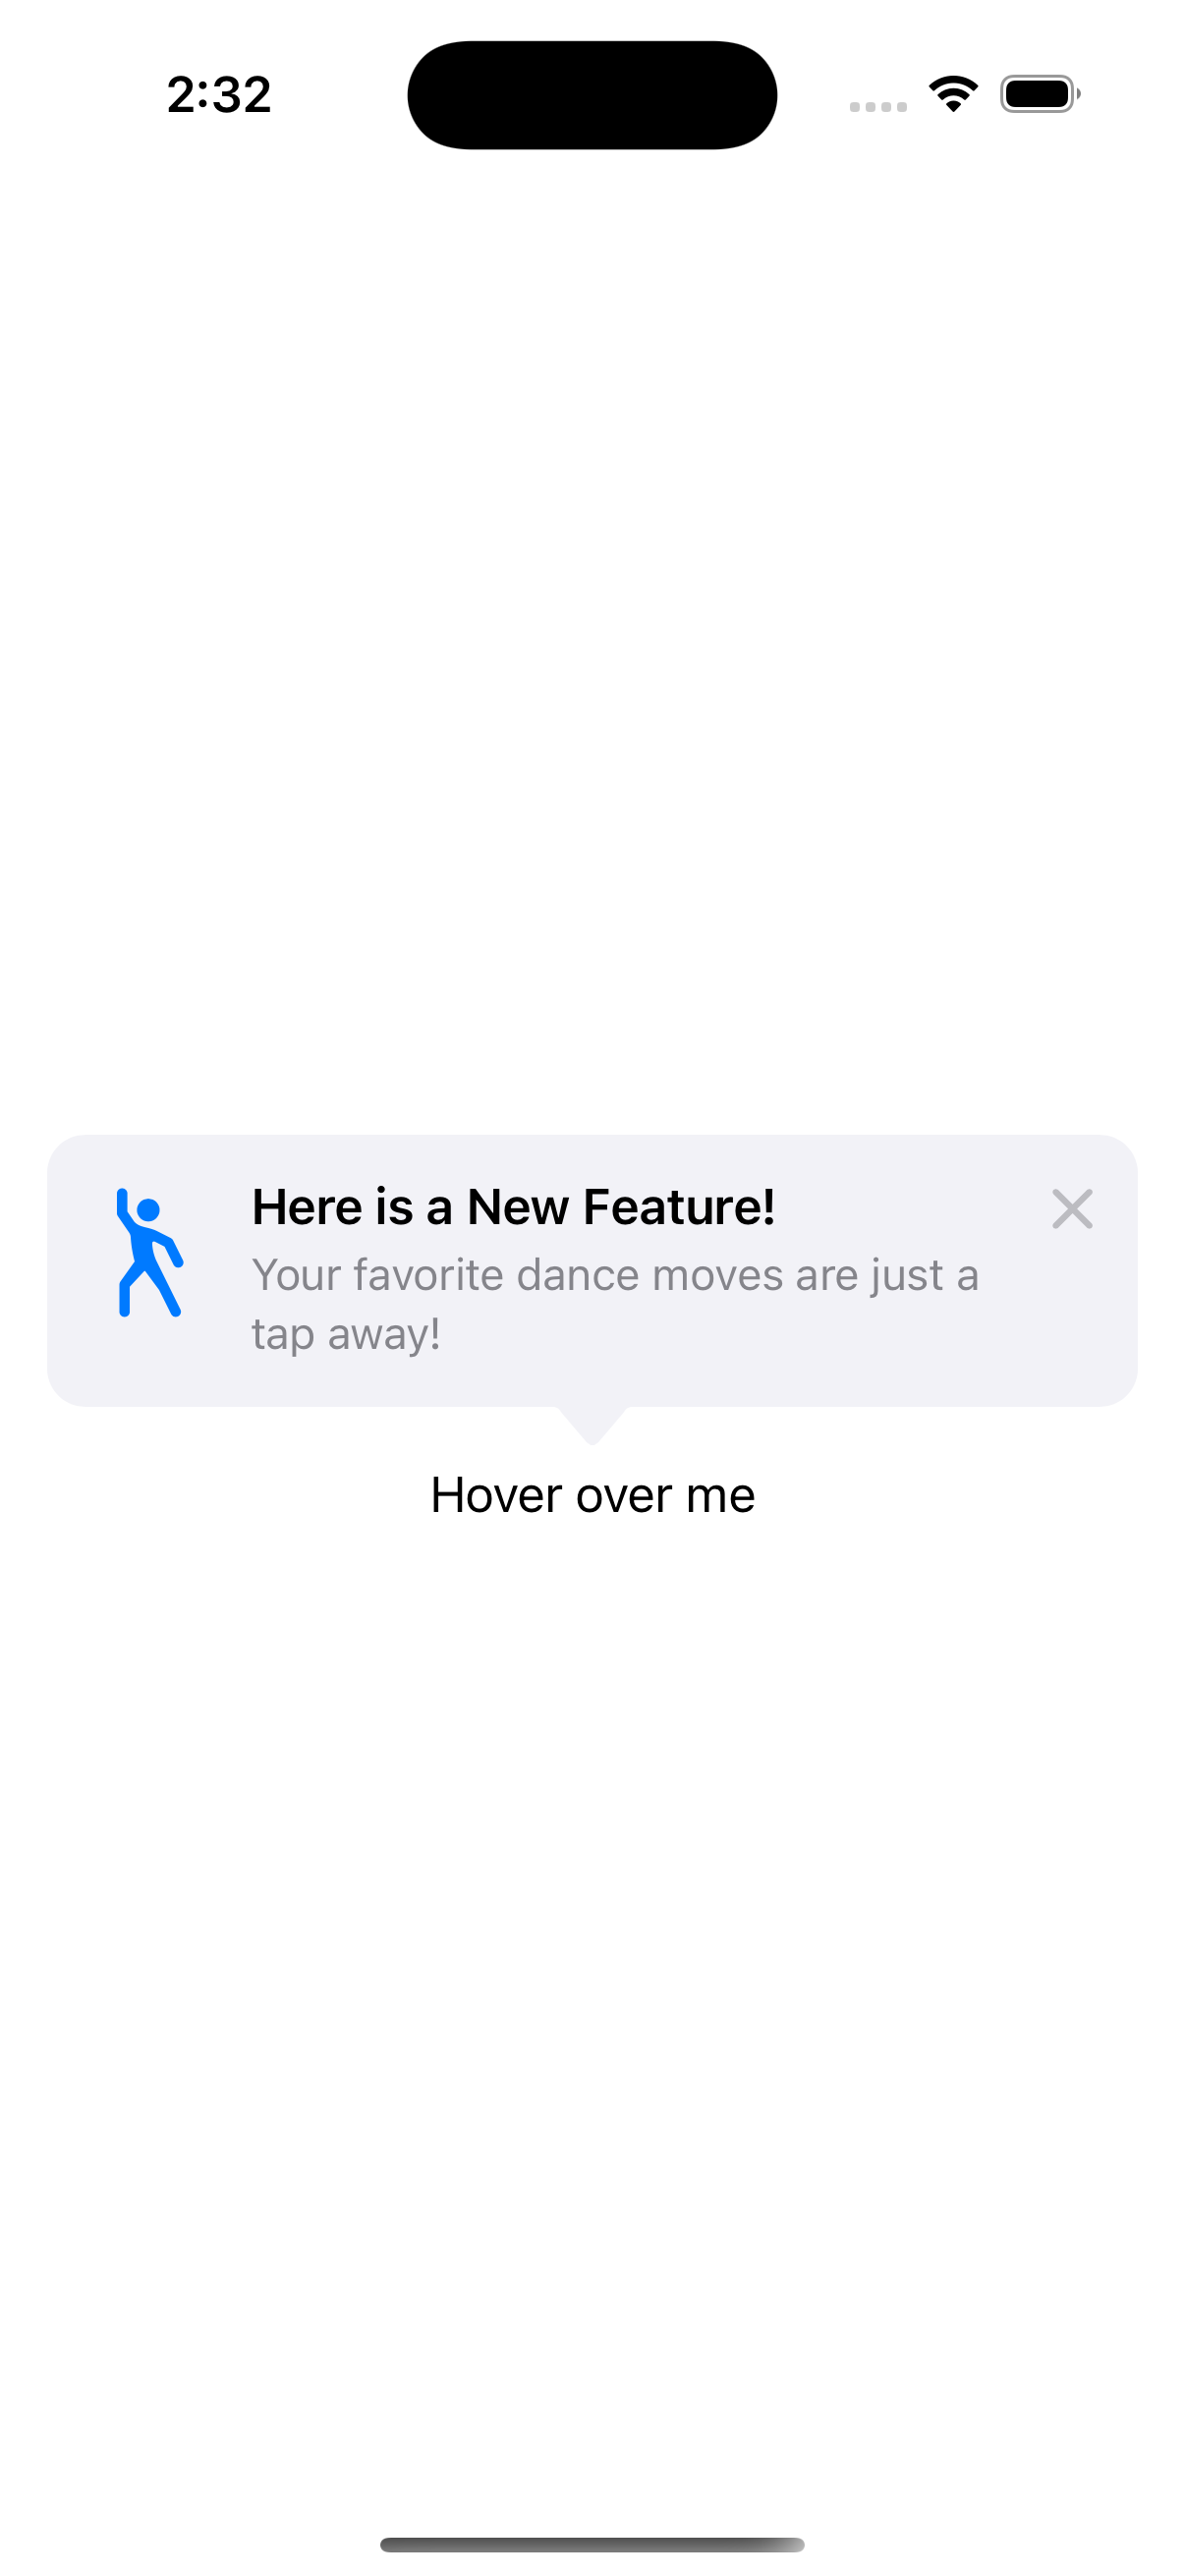
Out of the box we get a X in the top right corner of our view to dismiss our Tip view. Tapping that X will dismiss our view and it will never show again. What if we want this tip to dismiss when a our button to our feature is pressed? We can then use the .invalidate function on our tip to dismiss our view with a reason.
struct ContentView: View {
  var tip = ExampleTip()

  var body: some View {
    VStack {
      Button("Hover over me") {
        tip.invalidate(reason: .actionPerformed)
      }
      .popoverTip(tip)
    }
  }
}
The reason in the invalidate method returns a reason value after invalidation. There are 4 values to choose from:
- actionPerformed
- displayCountExceeded
- displayDurationExceeded
- tipClosed
Another thing we can do is add buttons to our tip view. We can do this by adding actions to our tip struct
struct ExampleTip: Tip {
  var title: Text {
    Text("Here is a New Feature!")
  }

  var message: Text? {
    Text("Your favorite dance moves are just a tap away!")
  }

  var image: Image? {
    Image(systemName: "figure.dance")
  }

  // This is how we can add button to our tip that will dismiss out view
  var actions: [Action] {
    return [
      .init(id: "gotIt", title: "Got It", perform: {
        // Dismiss our tip
        self.invalidate(reason: .actionPerformed)
      }),
      .init(id: "learnMore", title: "Learn More", perform: {
        // do some action here
      })
    ]
  }
}

Next let’s take a look at how we can make rules for when we want our tips to show. We can create a rule that will records each time a view is shown and then show our tip after a specific number of times the user has opened that view.
struct ExampleTip: Tip {
  var title: Text {
    Text("Here is a New Feature!")
  }

  var message: Text? {
    Text("Your favorite dance moves are just a tap away!")
  }

  var image: Image? {
    Image(systemName: "figure.dance")
  }

  var actions: [Action] {
    return [
      .init(id: "gotIt", title: "Got It", perform: {
        self.invalidate(reason: .actionPerformed)
      }),
      .init(id: "learnMore", title: "Learn More") {}
    ]
  }

  // We create a Tip.Event so that we can track what we want to act on in our Tip.Rule
  static let viewOpened: Event = Event(id: "viewOpened")

  // Next we create and array of Rules that we want our Tip to adhere too.
  var rules: [Rule] {

  // This Rule will have our Tip only show after our event has been triggered.
    #Rule(Self.viewOpened) {
      $0.donations.count > 2
    }
  }
}
In the code above we first create a Tip.Event so our rules can track user interactions. Then we add our Rule to a Rules array. In that Rule we will make a condition that will track the status of our Event. Next we need to setup our view to track our Event this way we know when to show our tip. In our example we are going to track when the view appears.
struct ContentView: View {
  var tip = ExampleTip()

  var body: some View {
    VStack {
      Button("Hover over me") {
        tip.invalidate(reason: .actionPerformed)
      }
      .popoverTip(tip)
    }
    .onAppear {
    // Here we create a task and we donate to our tip event each time the .onAppear is called
      Task {
        await ExampleTip.viewOpened.donate()
      }
    }
  }
}
Now after we the on appear method is called 3 times we will see out tip show up on the screen as it did before.